DigitalOcean Call Recordings
DigitalOcean Call Recordings
DigitalOcean COnfiguration
-
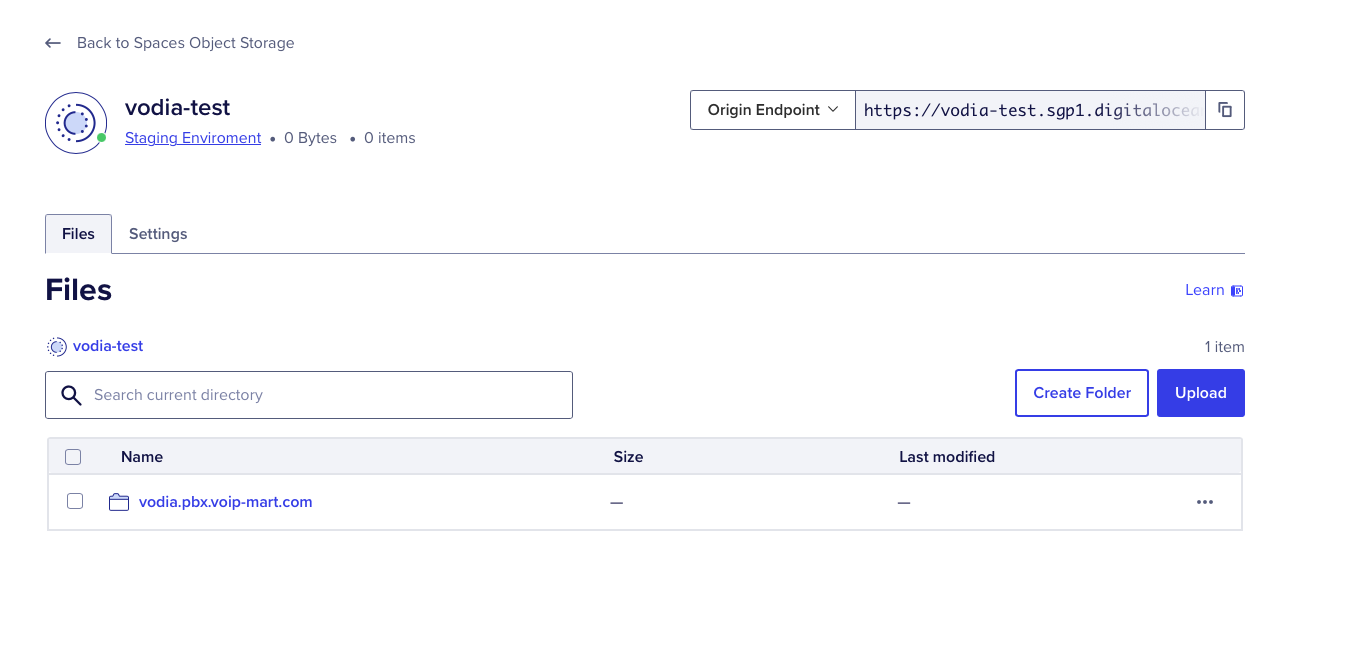
Create DigitalOcean Spaces Object Storage:
- Navigate to the DigitalOcean Spaces Object Storage section in your DigitalOcean account.
- Create a new Space to store your call recordings.
-
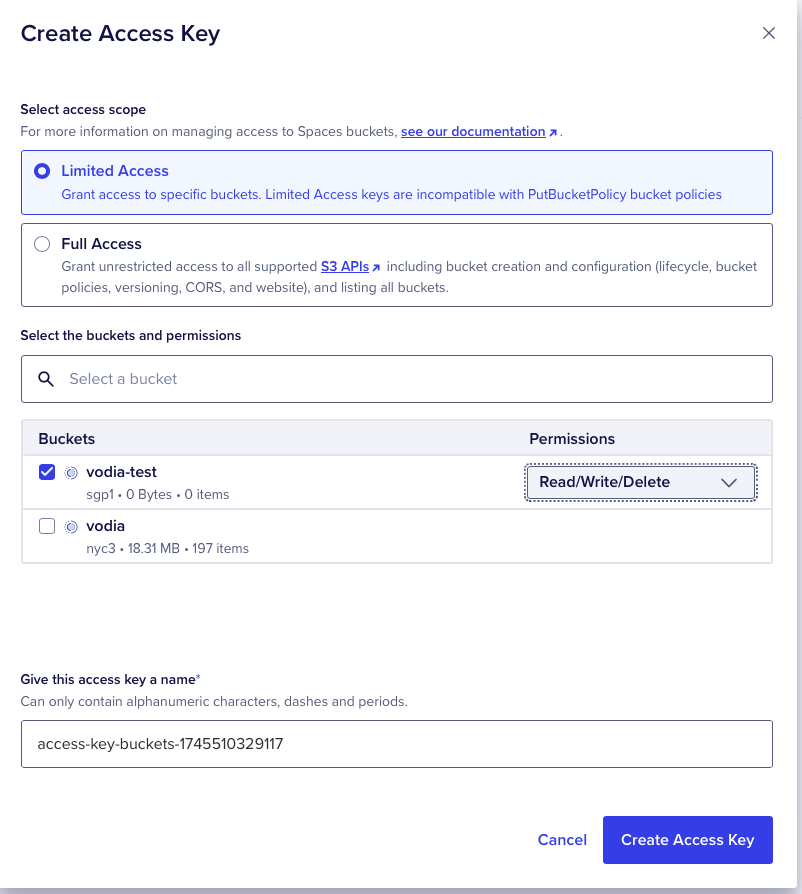
Create Access Key:
-
Go to the settings tab within your DigitalOcean Spaces Object Storage.

-
Create a new Access Key.
-
Ensure the Access Key has the necessary permissions to write objects to your Space.
-
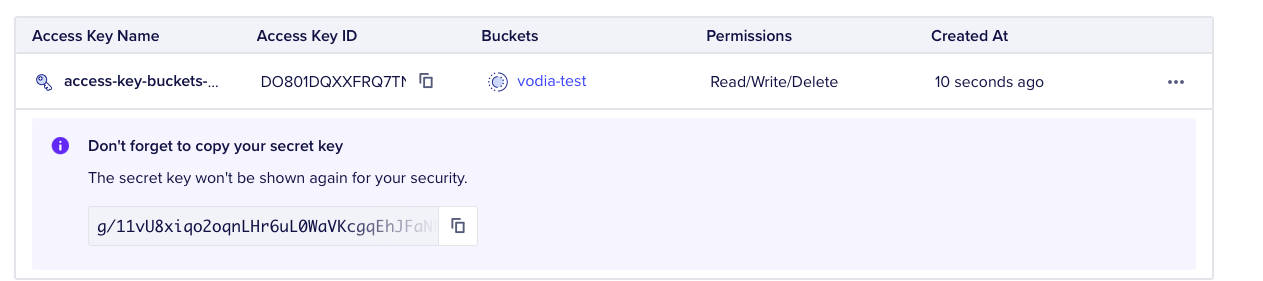
Important: Copy and securely store both the Access Key ID and the Secret Key. You will need these later.
-
Note down the DigitalOcean Spaces Object Storage URL. You'll also need this.
-
PBX configuration
-
Tenant General Settings:
-
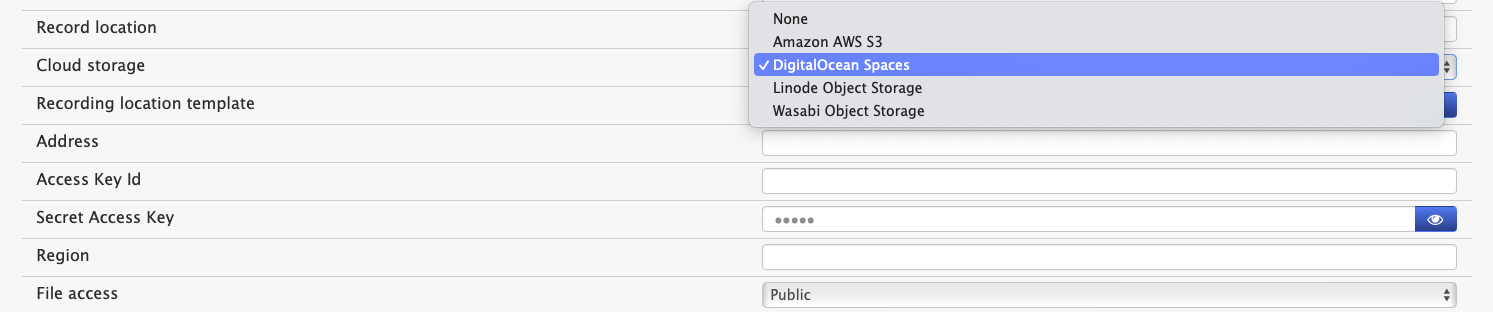
In your Vodia PBX, go to the tenant's general settings.
-
Select "DigitalOcean Spaces" as the storage provider.
-
-
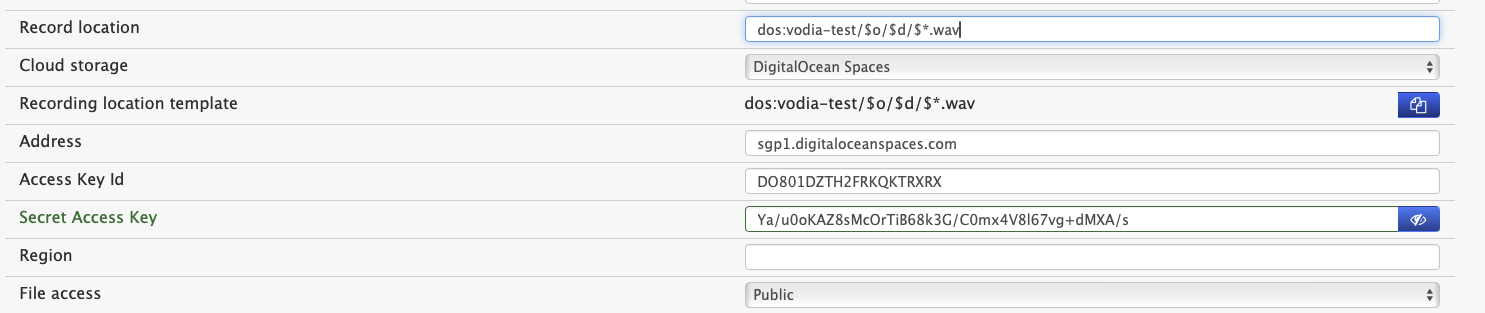
Configure Storage Location:
-
Paste the full DigitalOcean Spaces Object Storage URL into the "Address" field in the Vodia interface.
-
PBX should automatically populate the "Recording location template" and adjust the "Address" field as needed. You typically won't need to manually set the region.
-
Enter the "Access Key ID" and "Secret Access Key" that you obtained from DigitalOcean.
-
Select the file access type. For playing recordings from the PBX web GUI, you'll usually need to select "public".
-
-
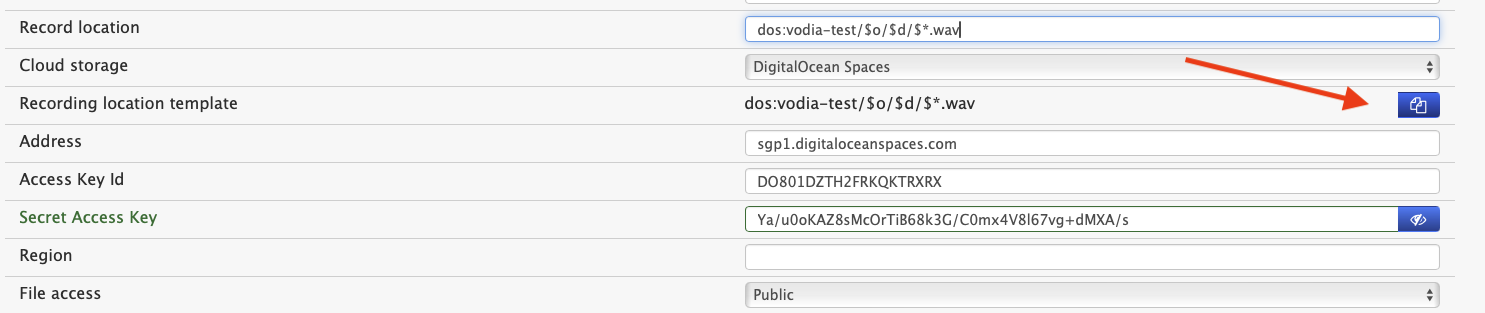
Set Recording Location:
-
Click the "copy" button next to the "Recording location template".
-
This action will copy the template into the "Recording location" field. This is a crucial step to ensure Vodia knows where to store the files within your Space.
-
-
Test the Configuration:
- Make a few test calls.
-
Verify that the call recordings are being saved to your DigitalOcean Spaces Object Storage bucket. You should be able to see the files in your DigitalOcean Spaces account.