Creating a Trunk
Go to your selected tenant in the Vodia PBX interface. You will see the current list of SIP trunks.
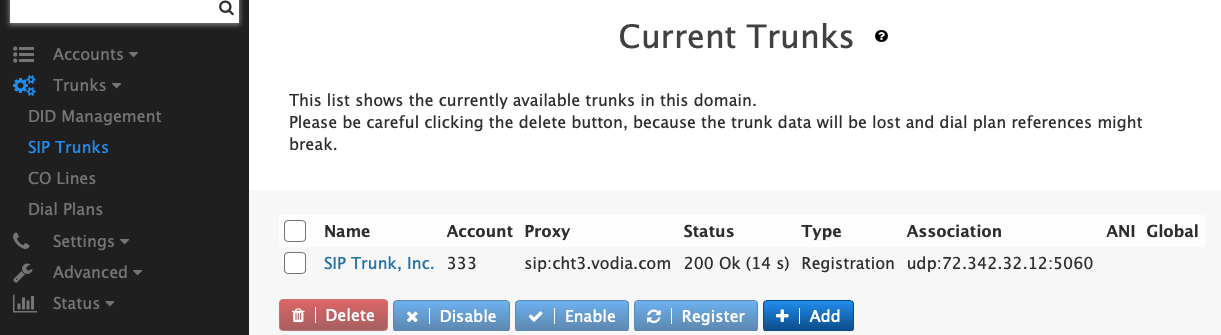
The list shows you the name of the trunk, the account that was used in the trunk (this can be empty), the outbound proxy that was assigned to the trunk, the status including the remaining duration of the registration where applicable, the trunk type, the address association, the ANI was was assigned to the trunk and if the trunk was set up as a global trunk.
On this page, you can also delete, temporarily disable or re-enable trunks. You can also explicity trigger a re-registration of the trunk. In order to create a new trunk, click on the Add button. A pop up window would give you a chance to enter the details in a modal window.

If your provider is in the drop down, the dialog will ask you for the information needed to set up this trunk. This is usually only the username and password, but in some cases you need to add a second username or domain names. If certain phone numbers are associated with the trunk, you can enter those numbers in the creation dialog. If you have a range of numbers, you can add them using a hypen as shown in the example. This will set up your trunk with a reasonable configuration. Hoewever you can still edit the trunk and modify the settings.
A setting that you might want to change is the destination for the trunk. By default the system will try to find a reasonable destination. However if you want to explicitly control this, you can do this in the trunk settings.
If your trunk provider is not in the dropdown, you can just create a new trunk (use "Other" as provider). This might take a little time to figure out the settings of the trunk. If you feel that your provider should be in the drop down please feel free to contact support to add the trunk.